Read-Eval-Print-Loop (REPL)
REPL is a simple interactive environment that takes single user inputs, executes them, and returns the result to the user. The REPL feature lets you inspect your dependency graph and call methods on your providers (and controllers) directly from your terminal.
Usage
To run your NestJS application in REPL mode, create a new repl.ts file (alongside the existing main.ts file) and add the following code inside:
@@filename(repl)
import { repl } from '@nestjs/core';
import { AppModule } from './src/app.module';

async function bootstrap() {
  await repl(AppModule);
}
bootstrap();
@@switch
import { repl } from '@nestjs/core';
import { AppModule } from './src/app.module';

async function bootstrap() {
  await repl(AppModule);
}
bootstrap();
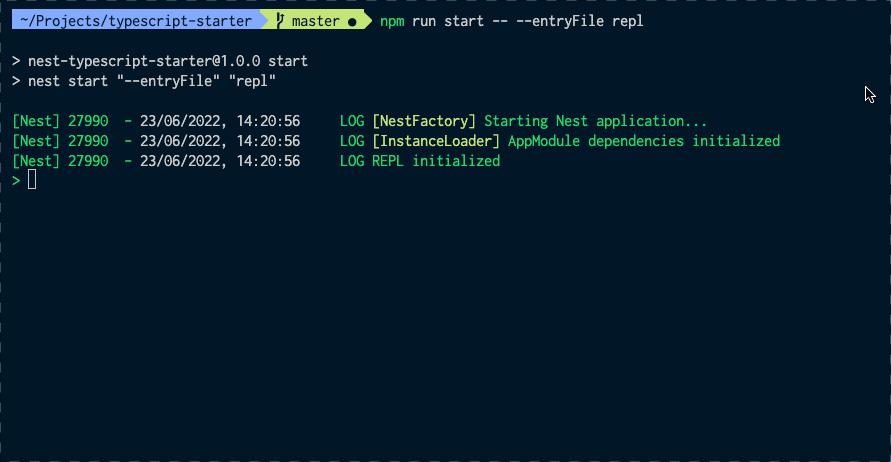
Now in your terminal, start the REPL with the following command:
$ npm run start -- --entryFile repl
info Hint
replreturns a Node.js REPL server object.
Once it's up and running, you should see the following message in your console:
LOG [NestFactory] Starting Nest application...
LOG [InstanceLoader] AppModule dependencies initialized
LOG REPL initialized
And now you can start interacting with your dependencies graph. For instance, you can retrieve an AppService (we are using the starter project as an example here) and call the getHello() method:
> get(AppService).getHello()
'Hello World!'
You can execute any JavaScript code from within your terminal, for example, assign an instance of the AppController to a local variable, and use await to call an asynchronous method:
> appController = get(AppController)
AppController { appService: AppService {} }
> await appController.getHello()
'Hello World!'
To display all public methods available on a given provider or controller, use the methods() function, as follows:
> methods(AppController)

Methods:
 ◻ getHello
To print all registered modules as a list together with their controllers and providers, use debug().
> debug()

AppModule:
 - controllers:
  ◻ AppController
 - providers:
  ◻ AppService
Quick demo:
You can find more information about the existing, predefined native methods in the section below.
Native functions
The built-in NestJS REPL comes with a few native functions that are globally available when you start REPL. You can call help() to list them out.
If you don't recall what's the signature (ie: expected parameters and a return type) of a function, you can call <function_name>.help.
For instance:
> $.help
Retrieves an instance of either injectable or controller, otherwise, throws exception.
Interface: $(token: InjectionToken) => any
info Hint Those function interfaces are written in TypeScript function type expression syntax.
| Function | Description | Signature |
|---|---|---|
debug | Print all registered modules as a list together with their controllers and providers. | debug(moduleCls?: ClassRef | string) => void |
get or $ | Retrieves an instance of either injectable or controller, otherwise, throws exception. | get(token: InjectionToken) => any |
methods | Display all public methods available on a given provider or controller. | methods(token: ClassRef | string) => void |
resolve | Resolves transient or request-scoped instance of either injectable or controller, otherwise, throws exception. | resolve(token: InjectionToken, contextId: any) => Promise<any> |
select | Allows navigating through the modules tree, for example, to pull out a specific instance from the selected module. | select(token: DynamicModule | ClassRef) => INestApplicationContext |
Watch mode
During development it is useful to run REPL in a watch mode to reflect all the code changes automatically:
$ npm run start -- --watch --entryFile repl
This has one flaw, the REPL's command history is discarded after each reload which might be cumbersome.
Fortunately, there is a very simple solution. Modify your bootstrap function like this:
async function bootstrap() {
  const replServer = await repl(AppModule);
  replServer.setupHistory(".nestjs_repl_history", (err) => {
    if (err) {
      console.error(err);
    }
  });
}
Now the history is preserved between the runs/reloads.