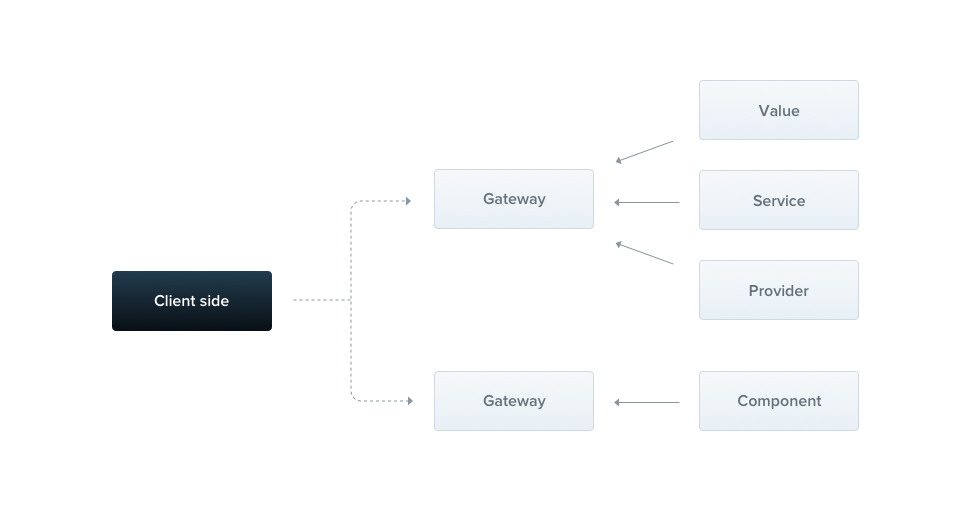
Gateways
Most of the concepts discussed elsewhere in this documentation, such as dependency injection, decorators, exception filters, pipes, guards and interceptors, apply equally to gateways. Wherever possible, Nest abstracts implementation details so that the same components can run across HTTP-based platforms, WebSockets, and Microservices. This section covers the aspects of Nest that are specific to WebSockets.
In Nest, a gateway is simply a class annotated with @WebSocketGateway() decorator. Technically, gateways are platform-agnostic which makes them compatible with any WebSockets library once an adapter is created. There are two WS platforms supported out-of-the-box: socket.io and ws. You can choose the one that best suits your needs. Also, you can build your own adapter by following this guide.
info Hint Gateways can be treated as providers; this means they can inject dependencies through the class constructor. Also, gateways can be injected by other classes (providers and controllers) as well.
Installation
To start building WebSockets-based applications, first install the required package:
@@filename()
$ npm i --save @nestjs/websockets @nestjs/platform-socket.io
$ npm i --save-dev @types/socket.io
@@switch
$ npm i --save @nestjs/websockets @nestjs/platform-socket.io
warning Warning
@nestjs/platform-socket.iocurrently depends on socket.io v2.3 and socket.io v3.0 client and server are not backward compatible. However, you can still implement a custom adapter to use socket.io v3.0. Please refer to this issue for further information.
Overview
In general, each gateway is listening on the same port as the HTTP server, unless your app is not a web application, or you have changed the port manually. This default behavior can be modified by passing an argument to the @WebSocketGateway(80) decorator where 80 is a chosen port number. You can also set a namespace used by the gateway using the following construction:
@WebSocketGateway(80, { namespace: 'events' })
warning Warning Gateways are not instantiated until they are referenced in the providers array of an existing module.
You can pass any supported option to the socket constructor with the second argument to the @WebSocketGateway() decorator, as shown below:
@WebSocketGateway(81, { transports: ['websocket'] })
The gateway is now listening, but we have not yet subscribed to any incoming messages. Let's create a handler that will subscribe to the events messages and respond to the user with the exact same data.
@@filename(events.gateway)
@SubscribeMessage('events')
handleEvent(@MessageBody() data: string): string {
  return data;
}
@@switch
@Bind(MessageBody())
@SubscribeMessage('events')
handleEvent(data) {
  return data;
}
info Hint
@SubscribeMessage()and@MessageBody()decorators are imported from@nestjs/websocketspackage.
If you would prefer not to use decorators, the following code is functionally equivalent:
@@filename(events.gateway)
@SubscribeMessage('events')
handleEvent(client: Socket, data: string): string {
  return data;
}
@@switch
@SubscribeMessage('events')
handleEvent(client, data) {
  return data;
}
In the example above, the handleEvent() function takes two arguments. The first one is a platform-specific socket instance, while the second one is the data received from the client. This approach is not recommended though, because it requires mocking the socket instance in each unit test.
Once the events message is received, the handler sends an acknowledgment with the same data that was sent over the network. In addition, it's possible to emit messages using a library-specific approach, for example, by making use of client.emit() method. In order to access a connected socket instance, use @ConnectedSocket() decorator.
@@filename(events.gateway)
@SubscribeMessage('events')
handleEvent(
  @MessageBody() data: string,
  @ConnectedSocket() client: Socket,
): string {
  return data;
}
@@switch
@Bind(MessageBody(), ConnectedSocket())
@SubscribeMessage('events')
handleEvent(data, client) {
  return data;
}
info Hint
@ConnectedSocket()decorator is imported from@nestjs/websocketspackage.
However, in this case, you won't be able to leverage interceptors. If you don't want to respond to the user, you can simple skip the return statement (or explicitly return "falsy" value, e.g. undefined).
Now when a client emits the message as follows:
socket.emit('events', { name: 'Nest' });
The handleEvent() method will be executed. In order to listen for messages emitted from within the above handler, the client has to attach a corresponding acknowledgment listener:
socket.emit('events', { name: 'Nest' }, data => console.log(data));
Multiple responses
The acknowledgment is dispatched only once. Furthermore, it is not supported by native WebSockets implementation. To solve this limitation, you may return an object which consist of two properties. The event which is a name of the emitted event and the data that has to be forwarded to the client.
@@filename(events.gateway)
@SubscribeMessage('events')
handleEvent(@MessageBody() data: unknown): WsResponse<unknown> {
  const event = 'events';
  return { event, data };
}
@@switch
@Bind(MessageBody())
@SubscribeMessage('events')
handleEvent(data) {
  const event = 'events';
  return { event, data };
}
info Hint The
WsResponseinterface is imported from@nestjs/websocketspackage.
warning Warning You should return a class instance that implements
WsResponseif yourdatafield relies onClassSerializerInterceptor, as it ignores plain JavaScript objects responses.
In order to listen for the incoming response(s), the client has to apply another event listener.
socket.on('events', data => console.log(data));
Asynchronous responses
Message handlers are able to respond either synchronously or asynchronously. Hence, async methods are supported. A message handler is also able to return an Observable, in which case the result values will be emitted until the stream is completed.
@@filename(events.gateway)
@SubscribeMessage('events')
onEvent(@MessageBody() data: unknown): Observable<WsResponse<number>> {
  const event = 'events';
  const response = [1, 2, 3];

  return from(response).pipe(
    map(data => ({ event, data })),
  );
}
@@switch
@Bind(MessageBody())
@SubscribeMessage('events')
onEvent(data) {
  const event = 'events';
  const response = [1, 2, 3];

  return from(response).pipe(
    map(data => ({ event, data })),
  );
}
In the example above, the message handler will respond 3 times (with each item from the array).
Lifecycle hooks
There are 3 useful lifecycle hooks available. All of them have corresponding interfaces and are described in the following table:
OnGatewayInit | Forces to implement the afterInit() method. Takes library-specific server instance as an argument (and spreads the rest if required). |
OnGatewayConnection | Forces to implement the handleConnection() method. Takes library-specific client socket instance as an argument. |
OnGatewayDisconnect | Forces to implement the handleDisconnect() method. Takes library-specific client socket instance as an argument. |
info Hint Each lifecycle interface is exposed from
@nestjs/websocketspackage.
Server
Occasionally, you may want to have a direct access to the native, platform-specific server instance. The reference to this object is passed as an argument to the afterInit() method (OnGatewayInit interface). Another option is to use the @WebSocketServer() decorator.
@WebSocketServer()
server: Server;
warning Notice The
@WebSocketServer()decorator is imported from the@nestjs/websocketspackage.
Nest will automatically assign the server instance to this property once it is ready to use.
Example
A working example is available here.